In this post I’m going to show you how to build a TV VESA mount 200 x 200 for the Minix Neo X7 for few euros. The mount is used to hang the Neo X7 and possibly a 2.5" hard drive behind the TV in order to hide them. Notice that this solution won’t allow to use the Neo X7 remote anymore, because there won’t be the line of sight between the IR receiver and the remote. In any case the RKRemoteControl App or any Airmouse will still work.
Materials:
- 1 250 x 250 mm, 4-5mm thick plastic sheet (I’ve used a sort of polycarbonate sheet)
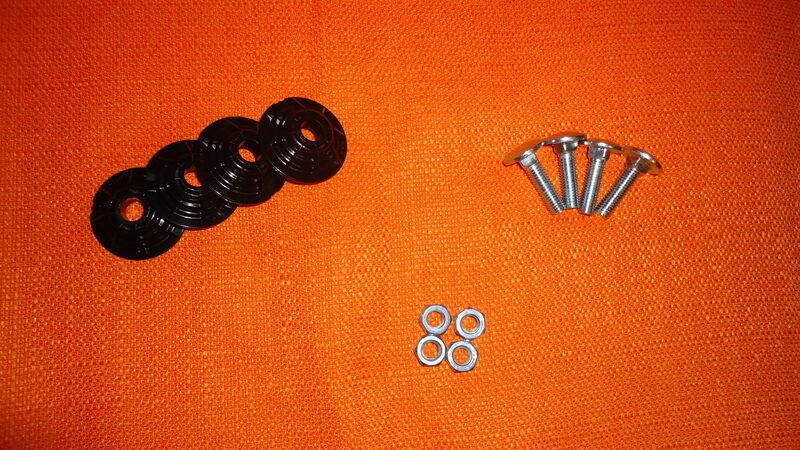
- 4 M8 bolts (The bolt should protrude about 1.5-2cm from the back of the TV once screwed, so choose a proper length)
- 4 M8 nuts
- 4 washer (I’ve used 4 plastic things coming with my Samsung TV)
- Rubber bands
Firstly, you need to perform the cuts on the plastic sheet, this is the only “complex” operation. To perform the cuts, I’ve used a Dremel with a diamond wheel. Notice that this solution produce a lot of plastic (possibly toxic) dust.
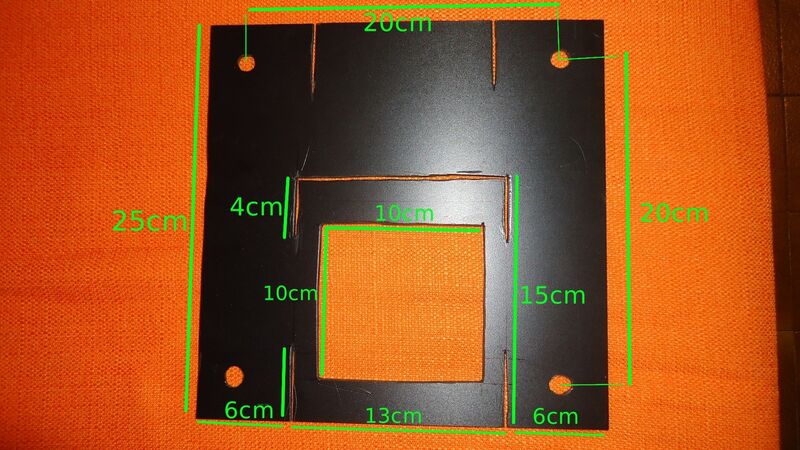
Cut a 250 x 250 mm square from the plastic sheet and perform the other cuts following the measures reported in figure. Then practice the four holes to insert the bolts. The holes diameter depend on the diameter of the bolts you use. The internal square hole is used to let the air flow from the back of the mount in order to cool the Neo X7. The slits on the lower side of the picture are needed to insert the rubber bands that will hold the Neo X7, while the two slits on the upper part are used to insert the rubber bands that will hold the external USB hard drive. These two slits are separated by a space that must be equal to the hard drive long side, and their size is approximately half the width of the hard drive.
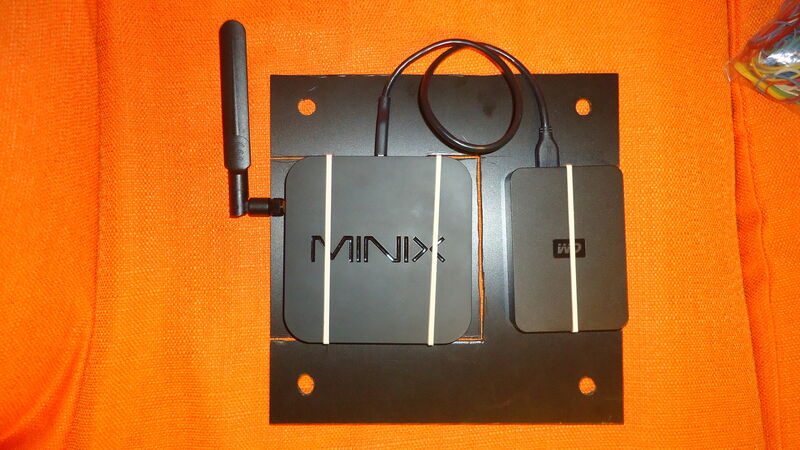
At this point you need to assembly all the pieces. Place the Neo X7 over the square hole, insert two rubber bands in the slits and lock the Neo X7 with the rubber bands. Then do the same with the hard drive.
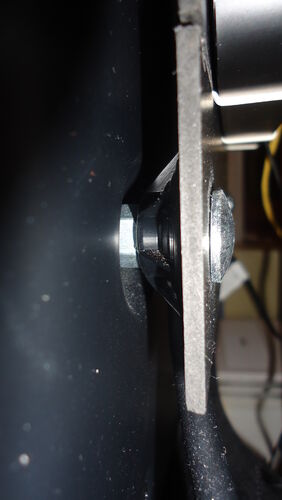
Now it’s time to mount the VESA support to the TV. Insert a bolt in the hole of the plastic sheet, than add the washer (or the Samsung TV black stuff as in my case) and than the nut. Tighten the nut in order to fix it to the plastic sheet, but let the bolt turn. Now screw the bolt to the bottom in the TV hole, and finally tighten the nut. If the bolt is of the correct size, there should be an interspace between the TV and the VESA mount to let the air flow in order to cool down the Neo X7.
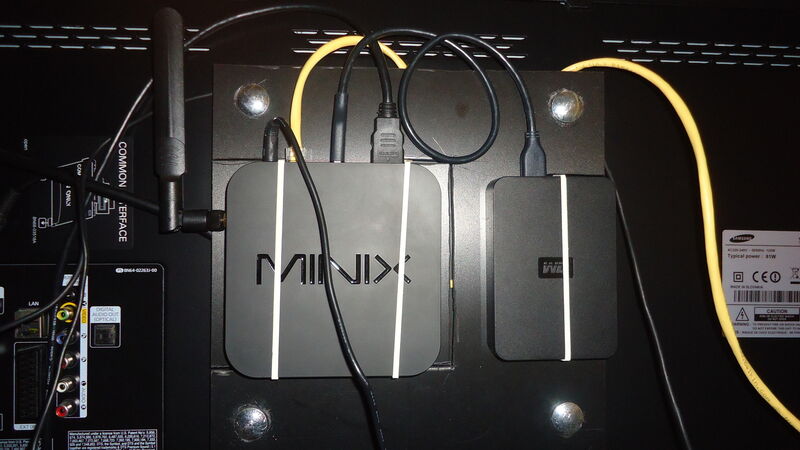
Finally, in the picture you can see how the VESA mount looks after the installation on the TV. At this point you can connect all the cables and everything will be hweidden behind the TV.